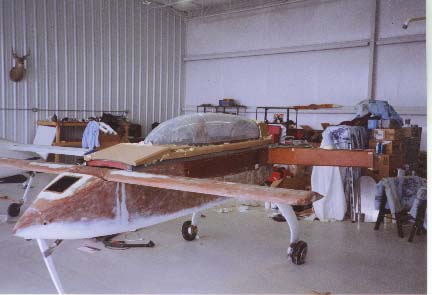
Chapter 18, the canopy, was my first big project from scratch.
I started by ordering the canopy from Aircraft Spruce...a waste of time, as I should've called Aircraft Plastics directly. When it finally arrived, much delayed...it was a BIG box! I'd figured out that it needed to be mailed to the airport, as there was no way it was going to get there strapped to my compact car. I'd even figured out I'd need to borrow a dolly to wheel it over to the hangar. What I hadn't figured on was that the empty box was bigger than the trash dumpster, and so no one would haul it away for a while....
Anyway, you start with by trimming the canopy plexiglass
to length, and trimming off the excess on sides and front. (Alas,
I have no pictures of this step).
Then, mask with duct tape to 0.6" from the edges
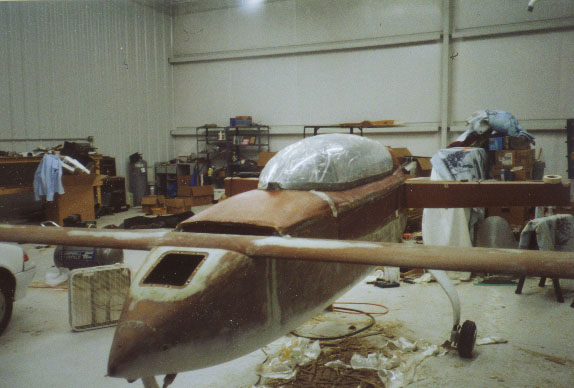
Mount the canopy on blocks in the position it's
going to be when all is said and done
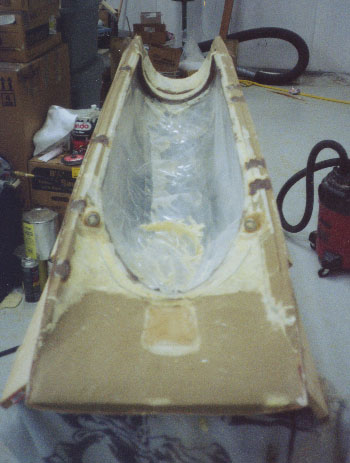
Build urethane foam around it, like so:
Sand to shape:
Layups include 3 plies BID on front + rear, 2 plies BID and 2 plies UND on sides:
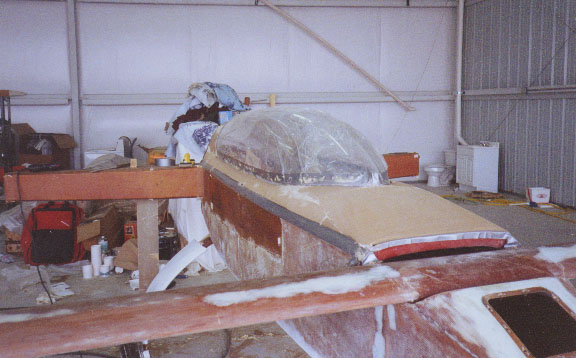
You build a lumber frame around it to help it hold its shape, then flip it over and shape the inside foam:
 Note the fancy floodlights, with buried wires.
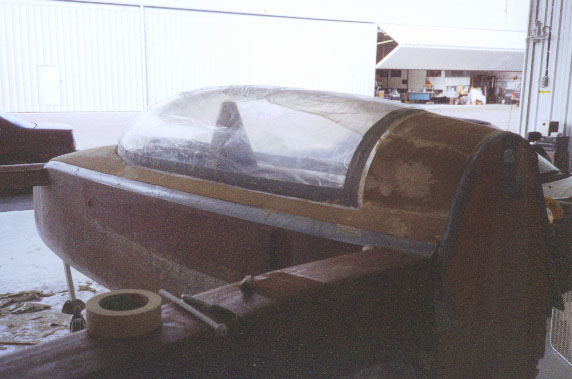
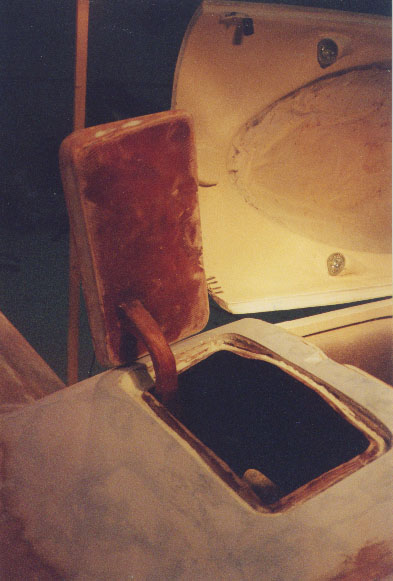
Note the lip rails are hollowed for a glass-glass
transition; the gap will be filled by a rubber seal and by micro; see Dick
Kreidel's Canopy Seals for more info.
The aft arrow stock was not installed; an arch was
installed in its place.
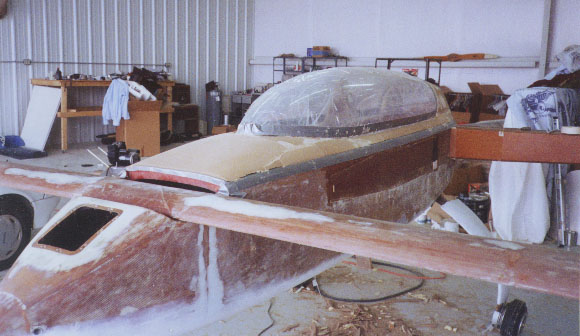
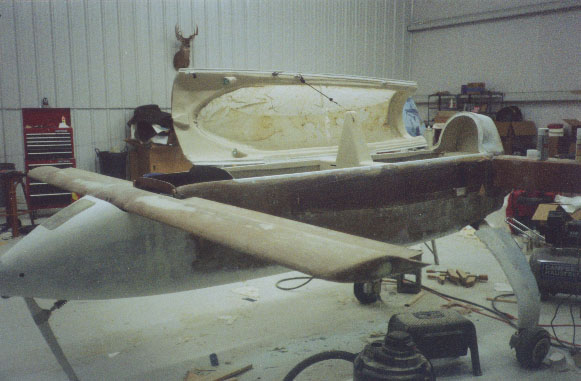
Because I was trying to get the lip rails done at this time, I also had to paint the rails, so I did the whole canopy:
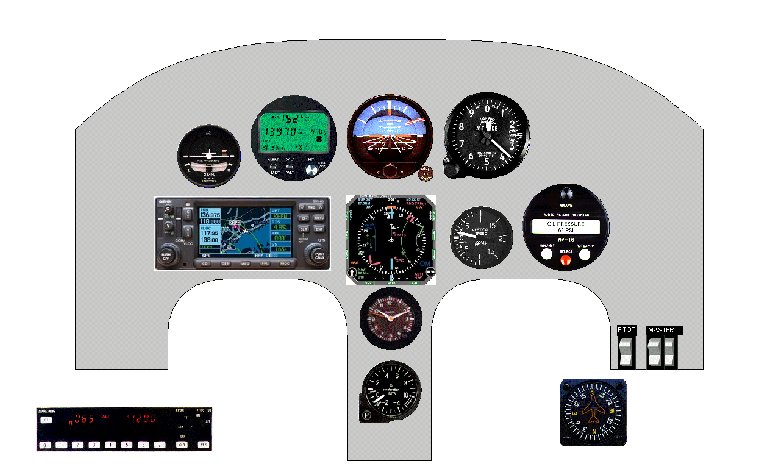
The front cover has an instrument door per Deb Iwatate, but I decided to make it hinged rather than removable. The upside is I don't clutter my panel with the door-removal bolts; the downside is that the upper right instruments are limited to a depth of about 6 1/2" total.
The canopy is cut further back than plans; this should
prevent "lifting" of the right front corner, as well as keeping rain from
spilling behind the instrument panel.
Iwatate eliminates the single front vent scoop;
I kept it in the plans location, which meant that the frontmost bit of
the NACA scoop crosses the cut line. Not a big deal, I think...just
a slight loss in cockpit cooling efficiency.
The panel is extended about 1 1/2" higher than plans,
which was done as an afterthought layup, not at the time the instrument
panel was cut. Oh well; with enough sanding, it's smooth now.
It adds a little to torsional strength, and gives more panel space, though
that top section doesn't have much depth, and so is only good for switches
and the like.
The stick is actually from a Thrustmaster Top Gun
joystick; at $19.99, certainly the cheapest way I've ever seen to get a
Mil-Spec grip shape. For use by the computer, the 4-way hat is wired
through a single circuit with 4 resistors; it was necessary to fix that
with a soldering gun and using the wires meant to carry joystick potentiometer
data.
The only downside I see is that the wires and switches
in this joystick are kinda flimsy; trim motors, for example, should definitely
by relay-driven.